Configuring eduroam on an Android device
Automatic setup
The preferred method for configuring your device is to use the eduroam CAT (Configuration Assistant Tool) - this tool will automatically set your device up to use the eduroam network. To do this, go to the eduroam CAT page (http://eduroam.nerc.ac.uk/cat.asp) and follow the instructions appropriate to your device, rather than using the guidance below.
Manual setup
Only perform a manual setup if you experience problems with the automatic setup!
This page describes the steps required to configure eduroam on an Android device.
This example is running Android 4.04 and may differ between devices and revisions.
The first section demonstrates the process of installing the root certificate for the NERC Domain. While it is technically possible to setup eduroam without installing the NERC root certificate, it is advisable from a security stand point. Without the certificate, your device has no way of knowing whether the server it connects to is legitimate or not. If you already have the certificate installed, or do not wish to install it, you may skip this step and go straight to Setting up the eduroam wireless network.
Certificate installation
The first step is to download the NERC ROOT CA certificate from the following link: NERC root CA certificate - external link (https://pki.nerc.ac.uk/NERC-2015-ROOT-CA.crt)
In most cases, this should automatically prompt you to install the certificate, so you should skip to step E. If, however, the certificate is downloaded to your phone's storage, continue to step B.
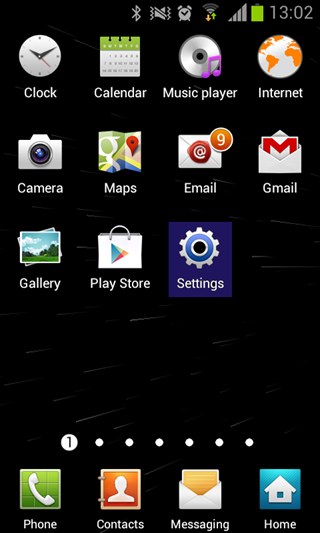
From the Applications menu, tap Settings.
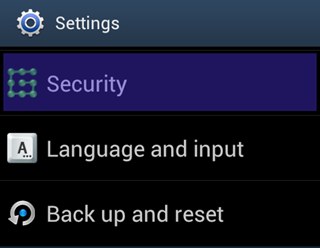
Scroll down and tap Security.
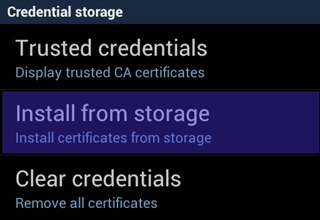
Now scroll down, under "Credential storage" tap the option for Install from storage.
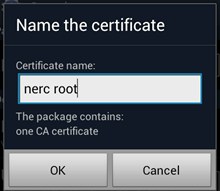
When prompted, enter a memorable name to represent this certificate and make a note of it. In this example I have chosen "nerc root".
Press OK and then return to the Home screen.
Setting up the eduroam wireless network
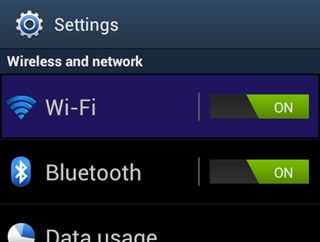
From the Applications menu, locate and tap Settings.
From the Settings menu, locate and tap Wi-Fi (you must ensure Wi-Fi is enabled at this point).
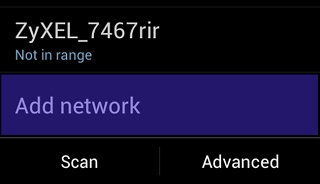
Scroll down to the bottom of the list of wireless networks and select Add network.
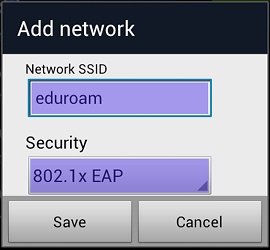
In the "Add network" dialogue box under Network SSID enter "eduroam" all in lowercase.
From the Security dropdown select "802.1x EAP" then tap Save.
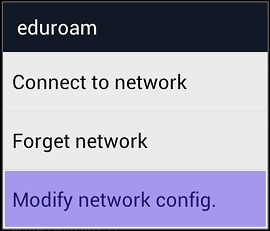
In the Wi-Fi configuration, locate then tap on the eduroam wireless network.
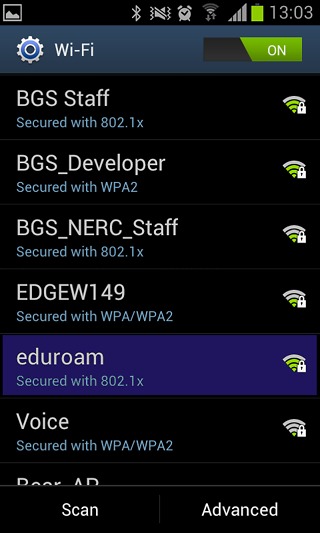
Select Modify network config.
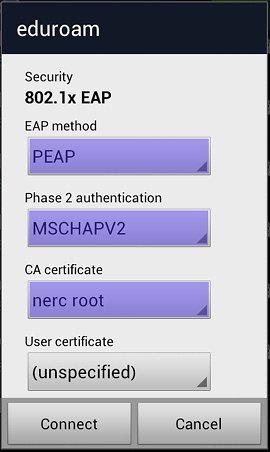
You should now be prompted for some settings for the eduroam network. First tap the CA certificate dropdown and select the NERC root certificate we downloaded (it will have the name you gave to it earlier).
In some cases the default settings will be correct, but you should ensure that EAP method is set to "PEAP" and that Phase 2 authentication is set to "MSCHAPV2".
You should now scroll down to the bottom of this page, where you will find the following.
In the Identity field enter your NERC Office 365 logon username. For example:
- My.Name@nerc.ukri.org
- fhdg@bas.ac.uk
- cjie@bgs.ac.uk
- abde@nerc.ac.uk
Note: For most people, this is your email address. Please contact your local IT team if you have any questions.
Leave the field for Anonymous identity blank.
You should enter you NERC Office 365 logon password in the Password field.
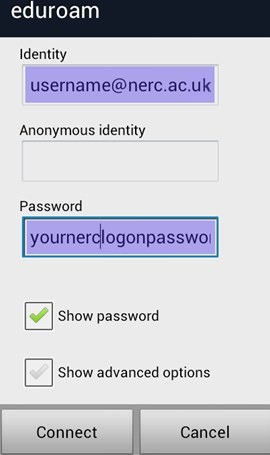
Tap Connect or Save. Once your device is within range of a valid eduroam network and says "Connected", you should be able to use the service.